How does screen printing proofing work in full process?
Many customers immediately ask, "How much does it cost to print this?" Actually, a step is essential before getting a quote—sampling. Today, I'll explain the entire sampling process from order placement to sample approval for screen printing processing . Newcomers can avoid many pitfalls by following this guide.
① First, confirm the substrate. Plastic, glass, metal, and fabric are all different materials, requiring completely different pretreatment and inks. Get samples or actual products from the customer to clarify whether it is PP/PE or ABS. If this step is wrong, all the subsequent work will be in vain.
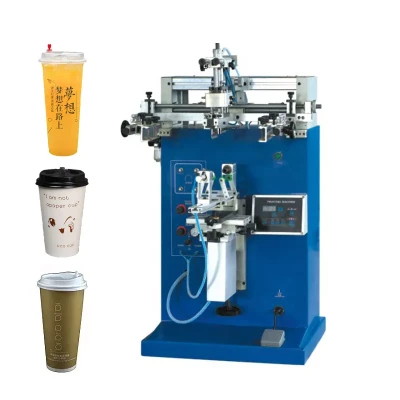
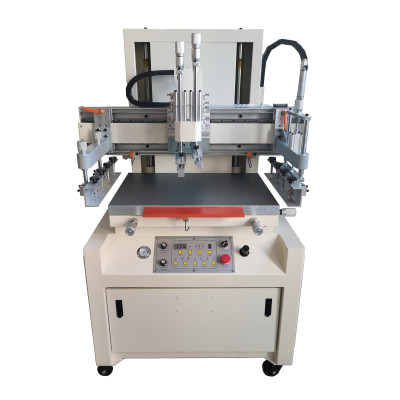
② Determine the process plan. How many colors? Are special effects needed (local UV coating, glow-in-the-dark effect)? Flat or curved surface? Curved parts can be directly printed on a servo curved screen printing machine, while flat parts can be printed on a tabletop machine.
③ Output film/make screen printing plate. Select the mesh count according to the pattern precision; generally, 120–165 mesh is used for text and graphics, and 200 mesh or more for fine lines. Before exposing the plate, prepare a sample film with the correct exposure parameters; do not directly install it on the machine.
④ Ink mixing and test printing. First, mix a small sample color, referring to the customer's color card. Use a Zahn cup to test the viscosity; if it is too thick, add the corresponding thinner. Print 3-5 sheets for the first batch and keep a sample for future reference.
⑤ Sample confirmation. Once alignment, ink layer, adhesion (cross-cut test/tape), and drying conditions are all satisfactory, the customer signs and seals the sample; this version becomes the mass production standard.
Please don't just include ink and printing plates in your quote. You also need to include screen printing plate fees, machine setup fees, waste, post-processing (baking/sintering), and minimum order quantity. Small orders have higher unit prices, while prices are negotiable for large orders. Sample fees are usually charged separately and can be deducted from the final order price.
Remember: Prototyping is not just "printing a sample to see what happens," it's about eliminating uncertainties before mass production. If the process is done correctly, mass production will be stable.
Practical tips
1. The first step in proofing is always to confirm the substrate material. If the wrong material is used, all the previous work will be in vain .
2. First determine the process plan: number of colors / special effects / flat or curved surface, which will determine which machine to use .
3. Mesh count should be selected according to precision: 120–165 mesh for standard lines, and ≥200 mesh for fine lines .
4. Use a color chart for ink mixing and Zahn cup to control viscosity. Keep 3-5 samples for future reference .
5. Five checks for sample signing: alignment, ink layer, adhesion, drying, and appearance. The customer signs and seals the sample .
6. The quoted price includes hidden costs: screen printing fee + machine setup + wear and tear + subsequent processes + minimum order quantity .
7. Sample fee is charged separately and can be deducted from the bulk order upon confirmation; small orders have higher unit prices, while large orders are negotiable .