How to Adjust the Viscosity of Screen‑Printing Ink?
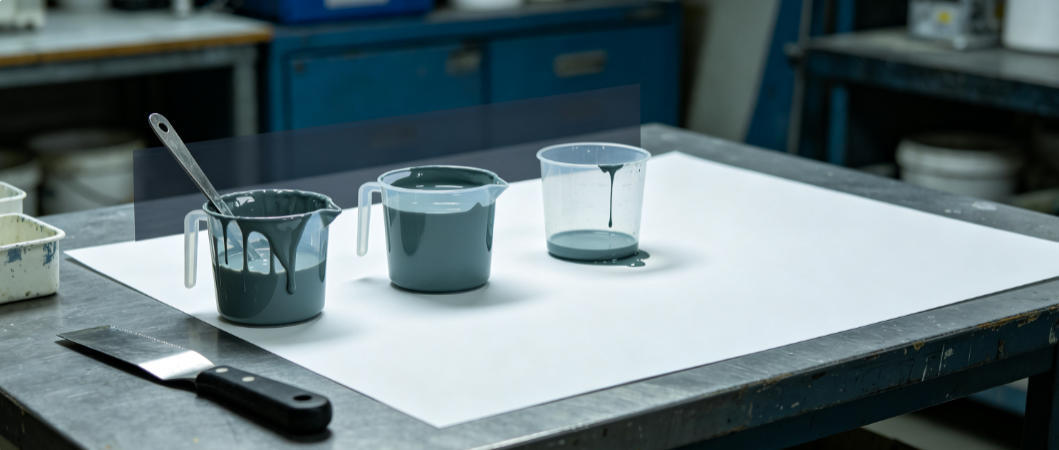
Is your screen‑printing ink too thick or too thin? Here’s how to adjust its viscosity
Are you constantly dealing with stencil clogging, ink bleeding, or pinholes in screen printing? Before rushing to replace your screen stencil, the problem most likely lies with improper ink viscosity. Viscosity is like the "temperament" of ink. If too thick, it causes screen clogging and stringing, leaving overly thick ink films that can be scraped off. If too thin, it results in full‑plate ink bleeding, blurry dots, and poor adhesion. Getting the viscosity right eliminates half of common printing defects.
Do not judge viscosity solely by feel. For solvent‑based inks, a No.4 Ford cup delivers the most accurate measurement. The normal printing viscosity range is approximately 3000‑8000 cP. Use thinner ink for higher‑mesh screens (fine‑detail printing) and thicker ink for lower‑mesh screens (coarse printing). From a practical perspective, the ideal state is when the squeegee glides smoothly, ink re‑coats cleanly, and no ink sticks to the screen.
Diluents are a frequent source of problems. For solvent‑based inks, use matching‑system diluents, available in fast‑dry, standard, and slow‑dry grades, selected according to workshop temperature and humidity. **Never add thinner (toluene‑based mixed solvent) to UV ink**, as this will ruin curing performance. Only add small amounts of dedicated UV ink reducer. For water‑based inks, use water or water‑based diluents. Adding solvents from incompatible systems may cause stencil erosion or even complete failure of ink drying.
Follow the "small quantity, multiple additions" mixing principle: add 1%‑3% at a time while stirring continuously. Thoroughly stir ink in the original bucket before testing. In hot summer weather when solvent evaporates rapidly, add slow‑dry solvent or cover ink with damp cloth. Seal leftover ink with clear labels. Filter recycled ink before reuse.
Quick Reference Key Points
1. Viscosity range: 3000‑8000 cP for solvent‑based ink. Thin ink for high‑mesh screens (fine work); thick ink for low‑mesh screens (coarse work).
2. Viscosity testing tool: No.4 Ford cup for accurate measurement. Practical check: clean ink re‑coating and no ink residue stuck on the screen.
3. Matching diluents: solvent‑based ink uses compatible‑system diluents (fast‑dry / standard / slow‑dry); UV ink uses dedicated reducer (small dosage only); water‑based ink uses water or water‑based diluents.
4. Mixing rule: add 1%‑3% each time, small quantity with multiple additions, stir while adding. Stir thoroughly after opening the bucket before testing.
5. Environmental compensation: add slow‑dry solvent or cover with damp cloth in summer due to fast evaporation; slightly raise temperature for excessively thick ink in winter.
6. Residual ink management: seal and label (color code + dilution ratio). Filter recycled ink before reuse to cut costs and reduce defects.
#ScreenPrinting #ScreenPrinter #ScreenPrintingInk #InkViscosity #PrintingProcess #PrintingEquipment #ScreenPrintingTutorial #Diluent #ScreenPrintingTips