How to Print on Glass Bottles Successfully
Printing on glass bottles delivers a premium, permanent look that labels cannot match, but curved, non-porous surfaces demand the right process. This guide covers the steps that make printing on glass bottles reliable, from surface prep to curing and quality control.
Why Glass Bottle Screen Printing Is the Right Choice
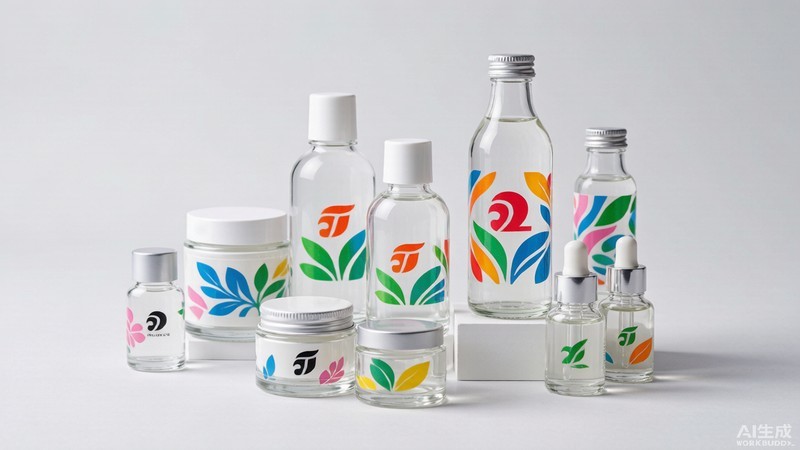
Glass bottle screen printing is the preferred method for decorating cosmetics, beverages, and spirits because the ink bonds directly into the surface. Unlike labels, a screen-printed design will not peel, bubble, or fade in the fridge. A fine mesh and squeegee lay UV or ceramic ink evenly across the curved wall for sharp, durable branding. For appearance-driven brands, durability is the main reason to choose printing over labels.
Preparing the Bottle Surface
Clean bottles are the foundation of good bottle printing. Oils, mold-release agents, and dust all block adhesion. Wash bottles in deionized water with mild detergent, then dry them in a dust-free zone. For coated glass, a light corona or flame treatment raises surface energy so the ink grips. Skipping prep causes peeling after the first wash.
Choosing the Right Ink for Glass
Glass needs ink that fuses rather than sits on top. Ceramic inks are fired in a lehr and become part of the glass for a dishwasher-safe finish. UV inks cure instantly under light with vivid color and strong chemical resistance. Spirits and perfumes favor ceramic; promotional runs often use UV for speed. Always test adhesion before full production.
Setting Up the Screen and Fixture
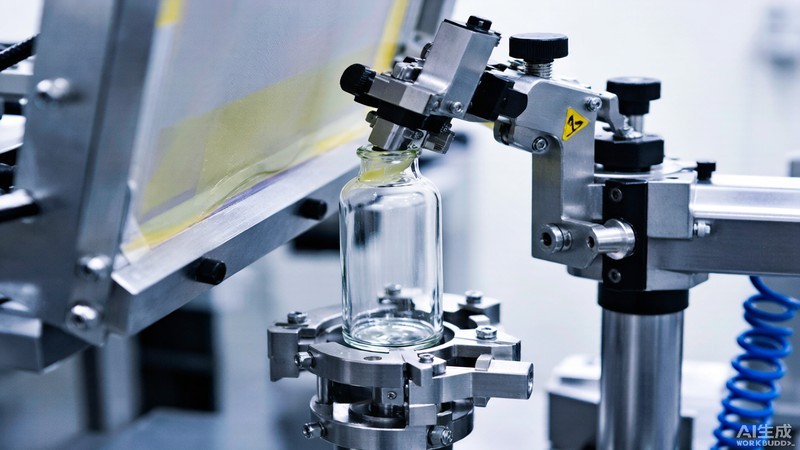
A stable print starts with the screen and fixture. Use a tensioned mesh matched to your artwork, and register the screen so the image sits exactly on the shoulder or body. The rotary fixture must hold the bottle true and spin it smoothly under the squeegee. CooPrinter's servo-driven fixtures keep runout minimal, protecting registration across long runs.
Dialing In Registration and Alignment
Misalignment ruins a premium look. Index the bottle against a fixed stop, then fine-tune the x, y, and angular position. Run samples and measure the gap between repeats with a caliper. On a quality bottle screen printing machine, micro-adjustments are repeatable, so a set job stays accurate for the whole order of bottle printing work.
Controlling the Curing Process
Curing decides whether the print lasts. UV ink needs the correct lamp dose and belt speed; under-cure stays tacky and over-cure can yellow. Ceramic ink needs the right lehr profile with a soak at peak temperature. Monitor belt speed and lamp age, and verify cure with rub and solvent tests on real bottles.
Quality Checks That Prevent Defects
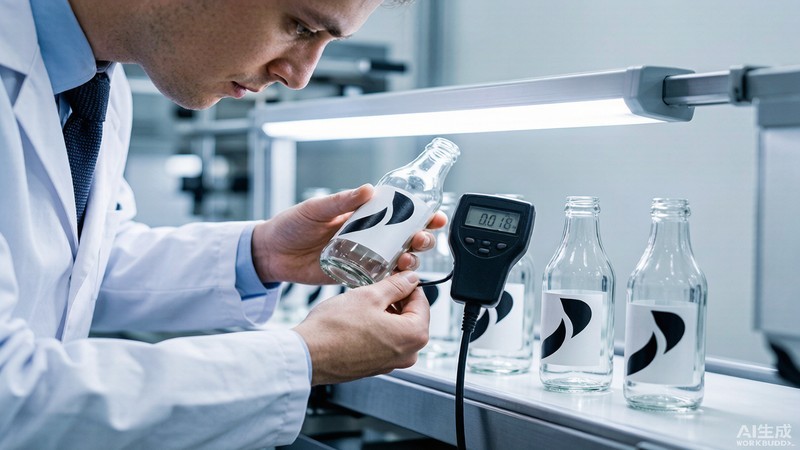
Build inspection into the line, not after it. Check the first article for adhesion, registration, and color, then sample at set intervals. Look for pinholes, seam build-up, and inconsistent gloss. A rub test plus a magnification station catches most issues before they become a rejected pallet of bottle printing output.
Why Manufacturers Trust Our Machines
CooPrinter has refined curved-surface printing systems for global bottle brands for years. Our machines combine servo precision, ink-specific curing, and recipe storage so reruns match the first run exactly. Built with industrial components and backed by responsive support, they are made for continuous production rather than occasional demos.
Conclusion
Successful glass bottle screen printing comes from disciplined prep, the right ink, accurate registration, and verified curing. Pair a reliable bottle screen printing machine with a partner like CooPrinter, and plain glass becomes lasting, shelf-ready branding customers notice and trust.
For equipment guidance and ink advice, explore our printing solutions.