How to Select the Correct Screen Mesh for Bottle Printing
Introduction
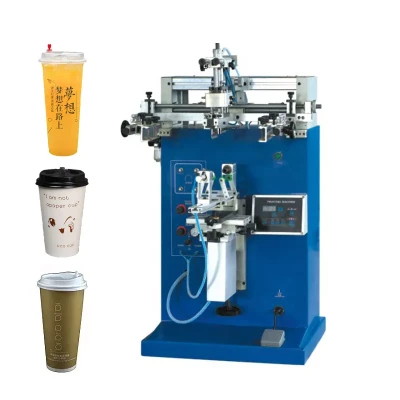
In Bottle Screen Printing, the screen mesh is the foundation of every stencil, yet many buyers overlook it. Its specification directly affects ink deposit, fine detail, and durability. This guide explains how to choose the correct screen mesh for curved containers so you can avoid costly reprints.
Why the Mesh Controls Print Quality
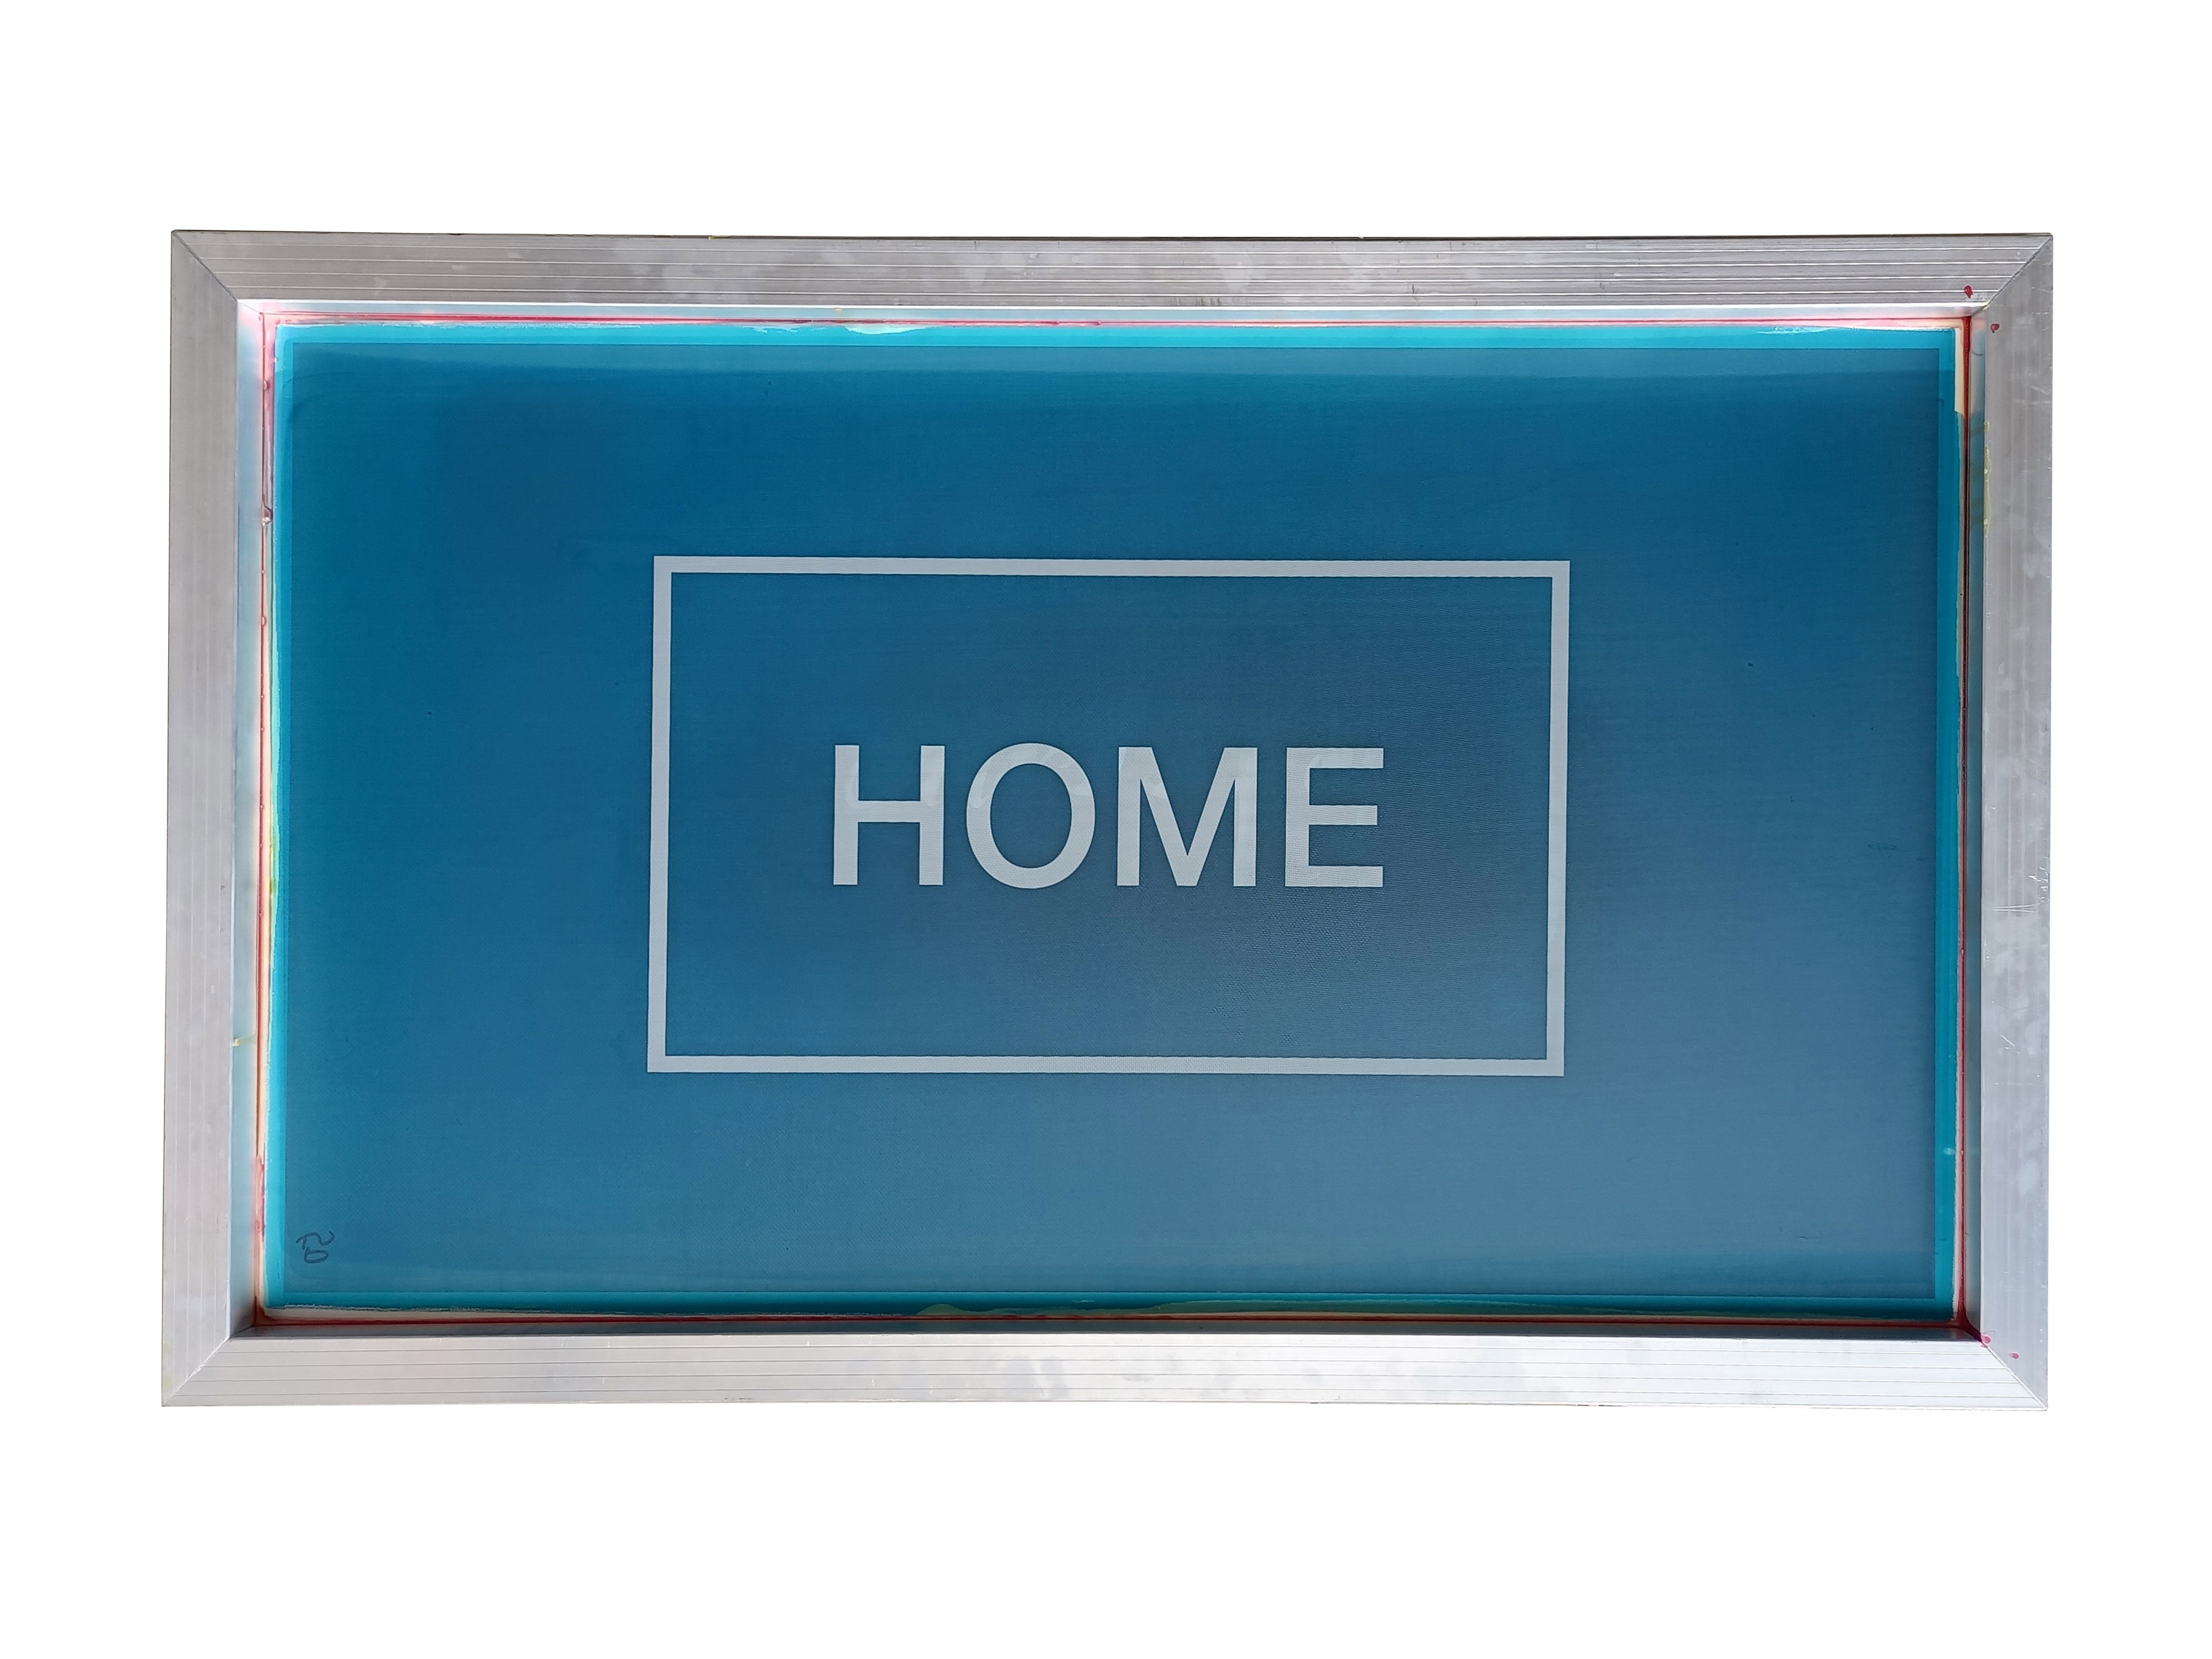
The Screen Mesh decides how much ink passes through the stencil onto a curved surface. A mesh that is too coarse floods the image with ink, while one that is too fine starves the print and exposes pinholes. Because bottles are round and non-porous, the mesh must balance coverage with sharp edges for consistent, scratch-resistant branding in Bottle Screen Printing.
Treat the mesh as a precision variable, not a fixed part. Small changes in mesh count can reshape the entire look of your print.
Understanding Mesh Count
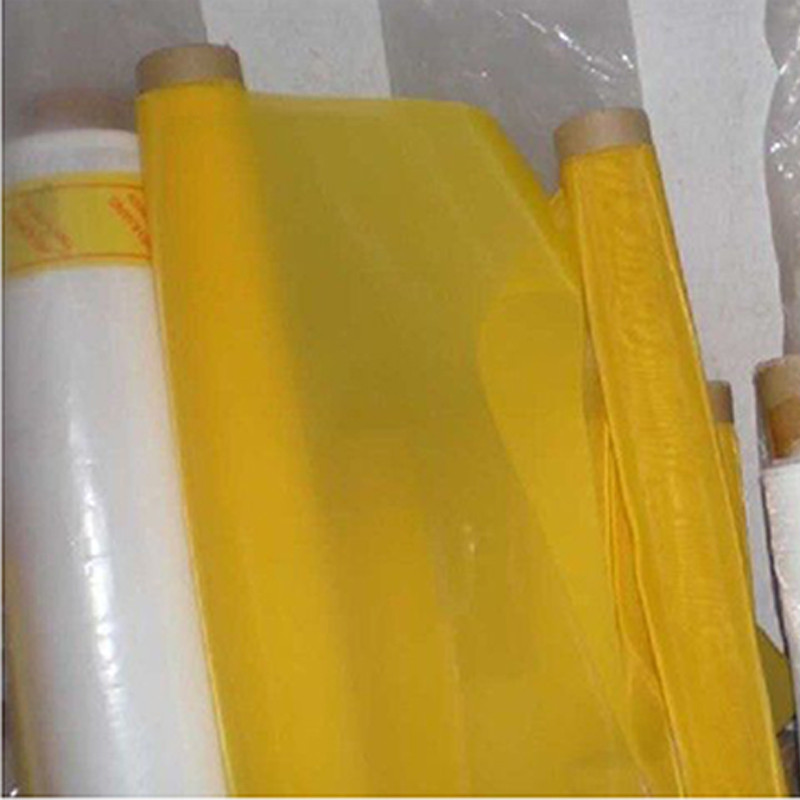
Mesh count is the number of threads per inch, written as TPI. Lower counts such as 60 to 110 TPI lay down thick deposits for opaque marks on glass and plastic. Higher counts, 200 to 305 TPI, suit fine text, gradients, and detailed logos. Bold artwork needs open meshes, while photorealistic designs demand tight weaves.
Matching the Screen Mesh to Ink Type
Solvent and UV inks behave differently on a Screen Mesh. Heavy ceramic and enamel inks need low-count meshes to flow, while thin UV formulations print cleanly through finer weaves. Water-based inks need a stabilized mesh to prevent swelling. Confirm the mesh rating with your supplier before a large order.
Fine Detail Versus Bold Graphics
When the design carries small legal text or thin lines, choose 230 to 305 TPI for definition. For solid slogans and large emblems, 110 to 160 TPI delivers the body customers expect. The Screen Mesh should follow the artwork, so plan the stencil around the visual goal from the start.
Keeping Tension and Alignment Stable
A well-tensioned mesh keeps the image stable as the squeegee sweeps the curve. Low tension causes blur and ghosting, while over-tension shortens mesh life. Maintain even off-contact distance so the mesh snaps cleanly after each pass. Stable tension matters on rotary bottle systems.
Cleaning and Reclaiming the Screen Mesh
Ink residue clogs threads and ruins the next job. Flush the Screen Mesh immediately after the run, then degrease and reclaim with the correct chemistry. Store screens flat and dry. A disciplined routine extends mesh life and preserves the consistency your buyers rely on.
Common Selection Mistakes to Avoid
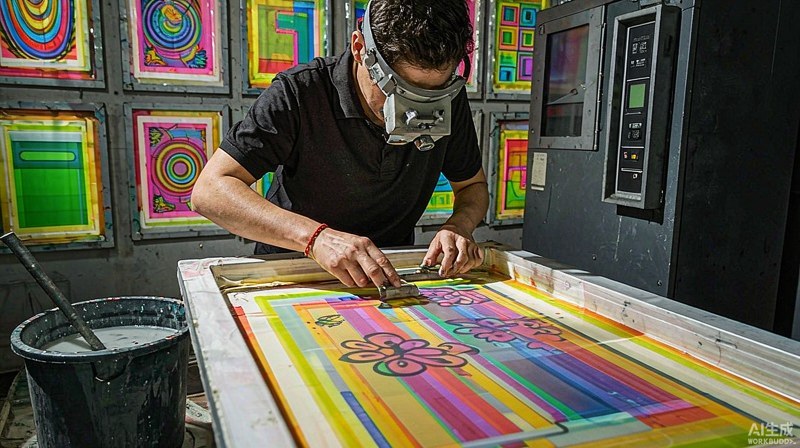
Common errors include chasing one mesh for every job, ignoring ink compatibility, and forgetting tension. Many shops reuse a worn mesh past its limit, producing fuzzy edges and ghosting. Treat mesh selection as a planned decision, not an afterthought, and document what works for each product.
How CooPrinter Supports Your Setup
CooPrinter supplies precision bottle printers with validated mesh guidance and compatible tooling, helping teams standardize settings across every machine. Our engineers recommend mesh-and-ink pairings proven on real production lines, so you spend less time testing and more time shipping quality prints.
Validated Mesh Guidance
Clear mesh-count advice matched to your artwork.
Compatible Tooling
Frames, tensioners, and consumables that fit together.
Proven Pairings
Ink-and-mesh combinations tested on live lines.
Conclusion
Choosing the correct screen mesh is a small decision with a large impact on Bottle Screen Printing. Match the mesh count to your artwork and ink, keep tension stable, and maintain the screen diligently. With the right mesh and a trusted partner, your curved-surface prints stay sharp, durable, and profitable. Explore CooPrinter's bottle printer range before your next upgrade.