Six key points for matching screen printing screen spacing with squeegee travel
If the printed images have blurry edges, incomplete ink removal, or misregistration, it's often not a problem with the ink or the screen, but rather a mismatch between the screen distance and the squeegee travel. The screen distance determines whether the screen can rebound and remove ink promptly after printing, while the travel determines whether the squeegee can completely transfer the image onto the workpiece. Both of these must be properly adjusted on both flatbed and curved screen printing machines. Today, we'll explain how to properly match the screen distance and squeegee travel on a screen printing machine, focusing on six key points.
1. Understand the roles of net distance and travel.
Screen distance is the spacing between the screen printing surface and the workpiece on the printing plate. When the squeegee is pressed down, the screen contacts the work piece, and after scraping, it rebounds and detaches due to its own tension. Stroke is the distance the squeegee travels from the starting point to the ending point. The former controls ink removal and rebound, while the latter controls the ink coverage area. The two affect each other; when adjusting one, the performance of the other must be observed simultaneously.
2. What are the manifestations of excessively large or small screen distances?
If the screen distance is too large, the screen will rebound too violently, making the image and text appear thin and the edges blurry, and registration will also be prone to drift. If the screen distance is too small, the screen will not remove ink in time, easily smudge the printed surface, and leave ink marks. When judging, first check whether the edges of the printed surface are clean and whether the image and text are complete, and then check the screen distance reading. Do not repeatedly add or subtract the distance from the beginning.
3. Adjust the screen distance according to the screen tension and workpiece thickness.
If the screen tension is sufficient and the rebound is strong, the screen distance can be relatively small; as the screen tension decreases with prolonged use and the rebound becomes slower, the screen distance should be appropriately increased. For thick workpieces with high protrusions, sufficient space should also be left for ink removal with the screen distance. After changing the screen or workpiece, first check the spacing with a feeler gauge and calipers, and then perform a test print on the machine (as shown in Figure 1).
4. The scraper stroke must match the width of the graphic and the position of the workpiece.
The stroke should cover both sides of the graphic and text, leaving room for ink return, ensuring that the edges are scraped. If the stroke is too short, one side of the graphic and text will not be scraped, resulting in uneven ink color. If the stroke is too long, the doctor blade may overtravel, causing collisions and wear on the rubber strip. First, accurately position the positioning gauge, and then determine the start and end positions of the stroke according to the actual width of the graphic and text; do not rely on visual estimation.
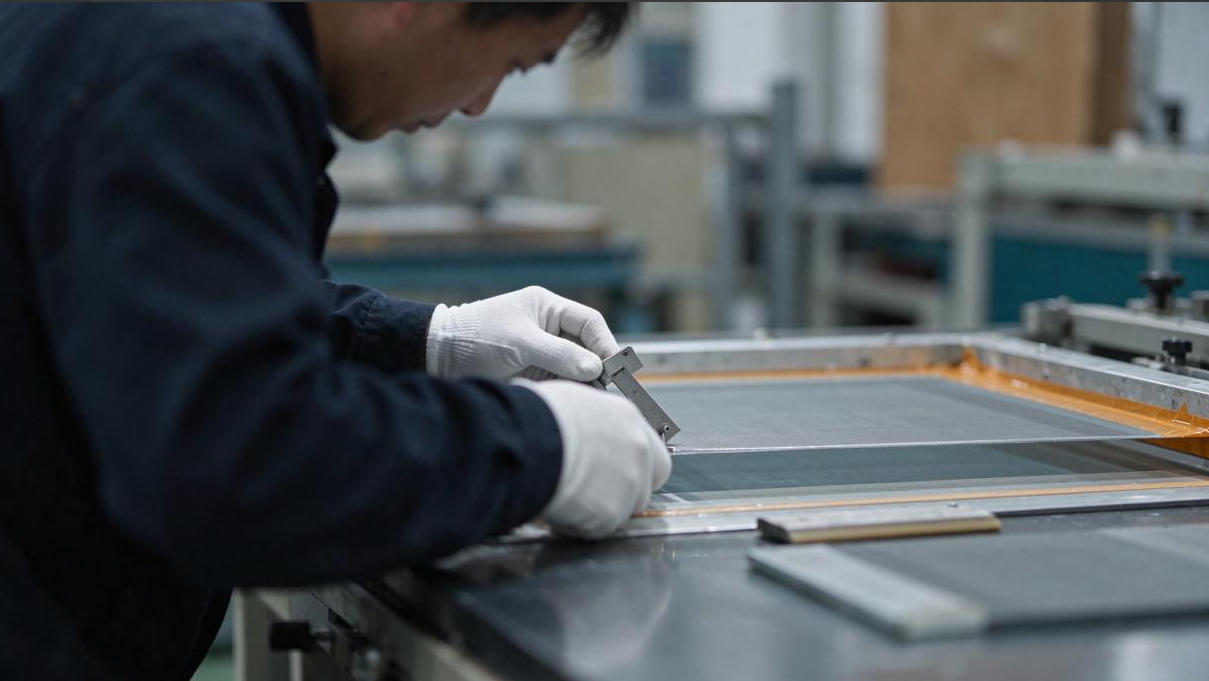
Figure 1. Measuring the distance between the screen and the platform.
5. Differences exist in the stroke fit between planar and curved workpieces.
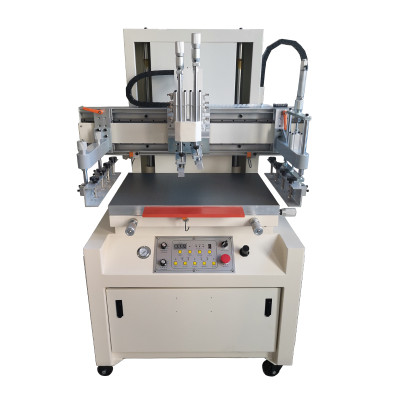
For flatbed screen printing machines, the squeegee travels in a straight line, scraping across the table at a uniform speed along the guide rail. For curved screen printing machines, when printing on bottles or cylindrical parts, the stroke speed must match the workpiece rotation speed, and the squeegee contact point must move synchronously with the workpiece rotation. Regardless of the type of screen printing machine, the squeegee speed and workpiece feed must be kept consistent to avoid image stretching or ghosting.
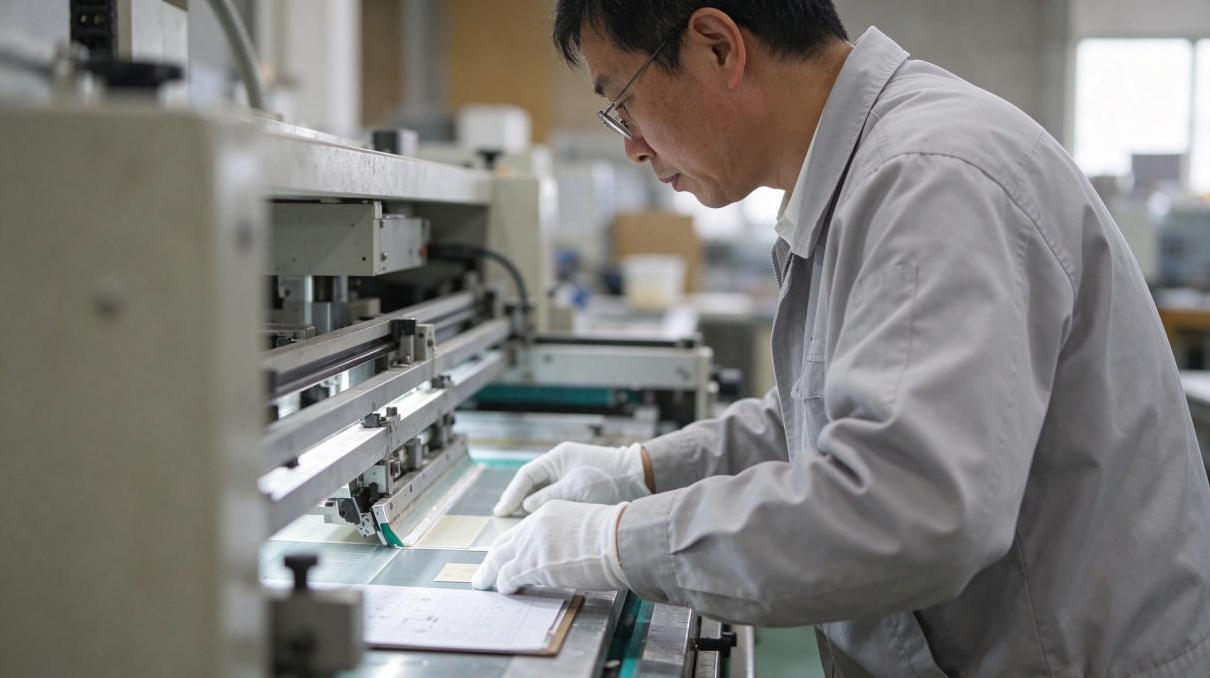
Figure 2 Observation of the scraping stroke of the scraper and the test print.
6. Conduct trial printing and fine-tuning, and perform daily reviews.
First, check if the ink removal is clean, and if the image edges and registration are normal. Then, record the screen distance and the start and end positions of the travel. During long-run production, randomly check a few pieces. If the ink layer becomes lighter or the edges become blurry, recheck immediately. For fully automatic screen printing machines running long runs continuously, the screen distance and travel should be checked regularly. For semi-automatic screen printing machines, re-align after changing materials or plates, and do not use the previous parameters.
Screen distance and stroke are a pair of fundamental parameters in the squeegee process of a screen printing machine: the screen distance tube rebounds to remove ink, and the stroke tube covers the ink properly. Only when the two work in harmony can the ink layer and edges be stable. Flat screen printing machines, curved screen printing machines, fully automatic screen printing machines, and semi-automatic screen printing machines all require adjusting and recording the parameters item by item according to the workpiece and screen conditions to ensure the consistency of batch prints.
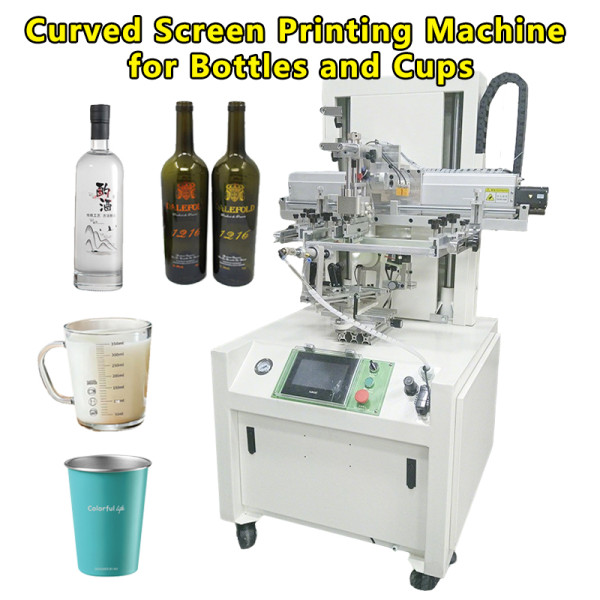
This servo curved screen printing machine is suitable for surface pattern printing of various round products.
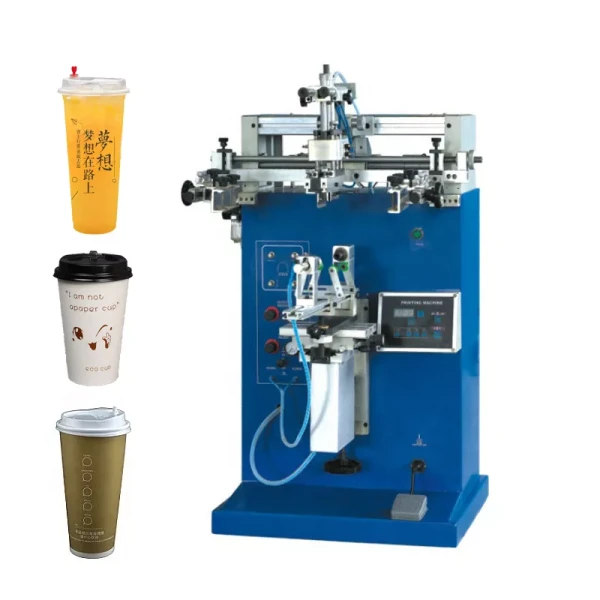
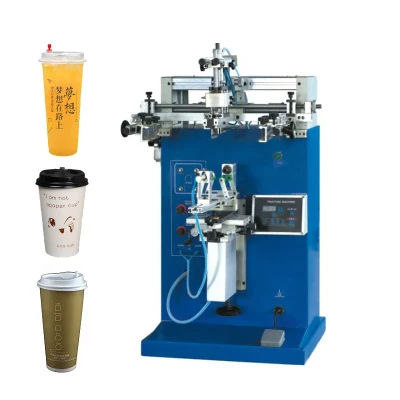
Semi-automatic cylindrical printing machine is suitable for surface printing on cylindrical objects and oval , such as syringe barrel, glass bottle, blow molded bottles, cosmetic tubes, aluminum water bottles, drum sticks, glass pipettes, gas cylinder, milk tea cups, jars etc.
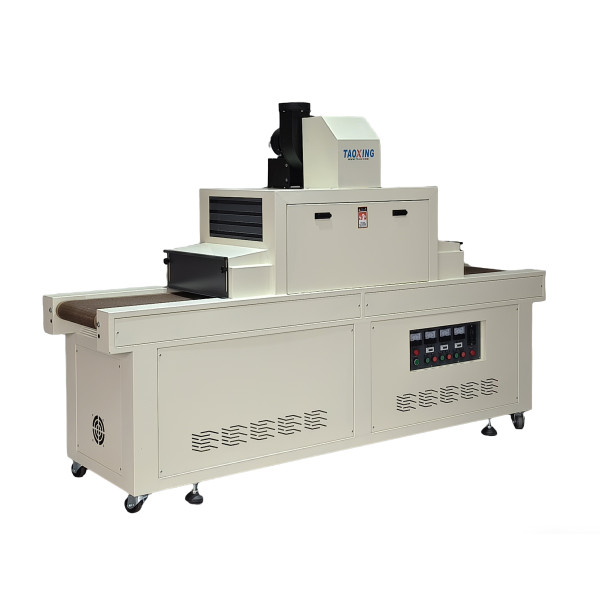
This UV curing machine is suitable for curing UV inks on medical supplies, mobile phone casings, membrane switches, electronic plastic casings, electronic components, LCD panels, terminal sealing, mobile phone component bonding, plastic component bonding, and LCDs.
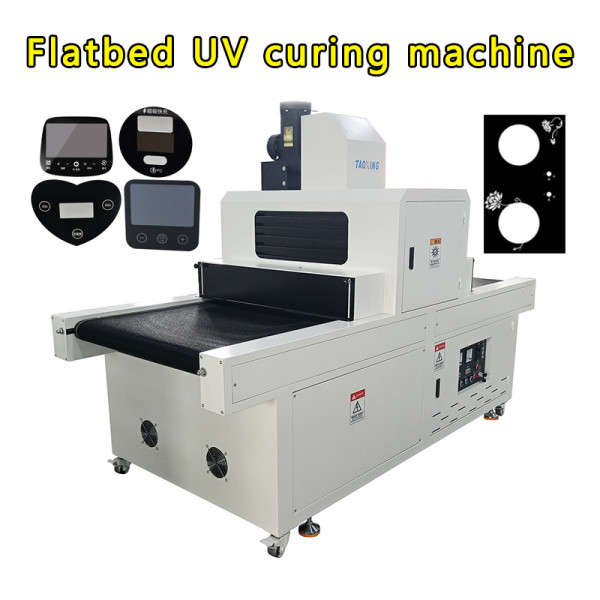
UV curing machine is mainly used for curing ink on printed products to improve the color fastness of the pattern.